Submitted by Doreen Coyne, a member of the Richmond Hill Garden & Horticultural Society
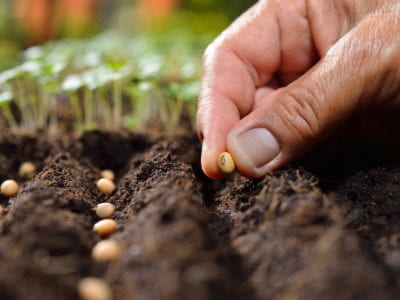
It’s time to ensure you are ready to plant later this month! So, I have gathered several tips for you. Some came from friends, other club members, and an older book titled “Favourite Gardening Tips” by Marjorie Harris. Hope you can use them when you start to plant.
HELP WITH GERMINATION: Jennifer reminds us that for good germination of parsley seeds you need to pour boiling water over the seeds after you place them in the ground. Once done, you can cover the trench with soil.
WATERING: It is recommended that you water a plant well for the first few weeks until you see new growth beginning. At that point, you can reduce watering to what's normal for that area of your garden and for that plant.

PLANTING ROWS OF SEEDS: Rather than staking each row and measuring out the spacing required for planting seeds, try this idea. Get a few bamboo poles which of course, are usually evenly notched with rings along their length. You could even mark them with permanent marker if you want to be sure of the spacing. These are readily available at Canadian Tire, Walmart, Amazon, garden centres and nurseries. Lay down the long bamboo pole on the ground in the garden where you want to plant a row of seeds and press it into the soil. The impression it leaves makes a perfect planting guide. If you want to be fancy, you could drill a hole the size of your larger seeds every inch or two along the length of your bamboo. Better yet, check how far apart your seeds should be to decide how far apart to make the holes. Now after putting the stick down and pressing on it, you simply put a seed in every hole or every other one, depending on your required spacing for a specific seed. Now lift the bamboo stick and do the next row.
PLANTING TINY SEEDS: Seeds such as lettuce and carrots are so small it is easier to simply wet a piece of cotton string or needlepoint thread then drag it through the seeds. The seeds will stick to string and you can place the string right in the planting row. Cover the row with the amount of soil specified on the seed packet. Done.
PLANTING RADISHES: My dad always had me plant radishes in one square area. He’d say, “Take a small palmful of seed and then scatter those seeds with your fingers throughout the square”. As they grew and were harvested, a few didn’t make it and a few had to be pulled to let others grow. But it was quick. After most were harvested, you could reseed the area for a second or third harvest during the summer. And did you know that radishes taste delicious roasted with other root vegetables! Try it. It changes their taste but are simply great to eat that way. You can also freeze radishes in a few easy steps. Wash them, scrubbing off all the dirt, then slice thinly or in wedges. Place those in a large pot of boiling water, blanching them for 2–3 minutes. Cool them in an ice bath, then place in freezer bags or containers removing most of the excess water and air.
FLOWERS: Many flowers can also be started as seeds in the ground. I’ve planted nasturtiums that way and they’ve grown well. Indeed in the fall, when they “go to seed”, I now simply shake their heads to disperse those seeds in the soil for next year. Other flowers that can be planted as seeds outdoors right now include: pansies, violas, marigolds, sunflowers, cosmos, zinnias, and four o'clocks.


